Replication Series, Part Five: Creating a Snapshot Replication
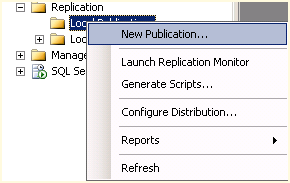
Figure 1 – New Publication
Continuing our series on replication, today we look a little deeper at Snapshot Replication. After you have ensured that replication is installed on both nodes, open the replication node in SQL Server management studio on the node that you want to be the publisher and right-click Local Publisher and select New Publication (See Figure 1).
This will open the New Publication Wizard. Select Next if you are presented with a starting page. Choose the defaulted server which should be your local server and select Next.
Now we are prompted for the snapshot folder. This is the network share that needs to have permissions enabled for the publisher and subscriber.
Next we will choose the database that we wish to replicate and then select Next. Then we will select the Snapshot publication type as shown in Figure 2.

Figure 2 – Replication Type
Then we will select the articles or tables and views that we wish to replicate. Here, I have selected all tables and views in Figure 3, but you can drill down and select only certain ones if you prefer. The next screen indicates if there are any issues and how to correct them.
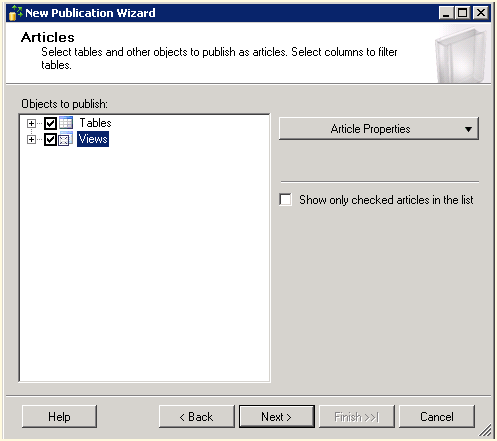
Figure 3 – Select Articles
Now we must setup the agent and create the snapshot so that we may initialize the subscription as shown in Figure 4. Select the Change button to set up your scheduled agent times to generate your snapshot.

Figure 4 – Snapshot Agent
On the final page of the wizard, we must select an account that will run the agent. You can run this under a Windows account or the SQL Server Agent service but I would not recommend that as it is not best practices. After you name the publication you will see a status screen as your publication is set up by SQL Server. You’re done!
Stay tuned and enjoy!
Posted on February 26, 2013, in AlwaysOn and tagged Replication. Bookmark the permalink. Leave a comment.


Leave a comment
Comments 0